5 Handy Printing Tips for MacBook Owners
Printing documents on a MacBook might not be as straightforward as some might think. Whether you want to copy words off a picture or get a quick copy of a PDF printed, you might find yourself in a bind, especially if you have not used a printer on a MacBook before.
Back in the day, we would need to download and install printer folders individually, but that is not the case with a MacBook.
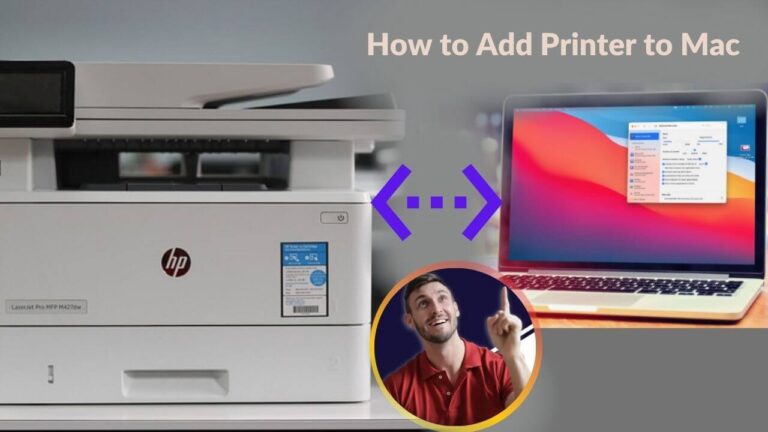
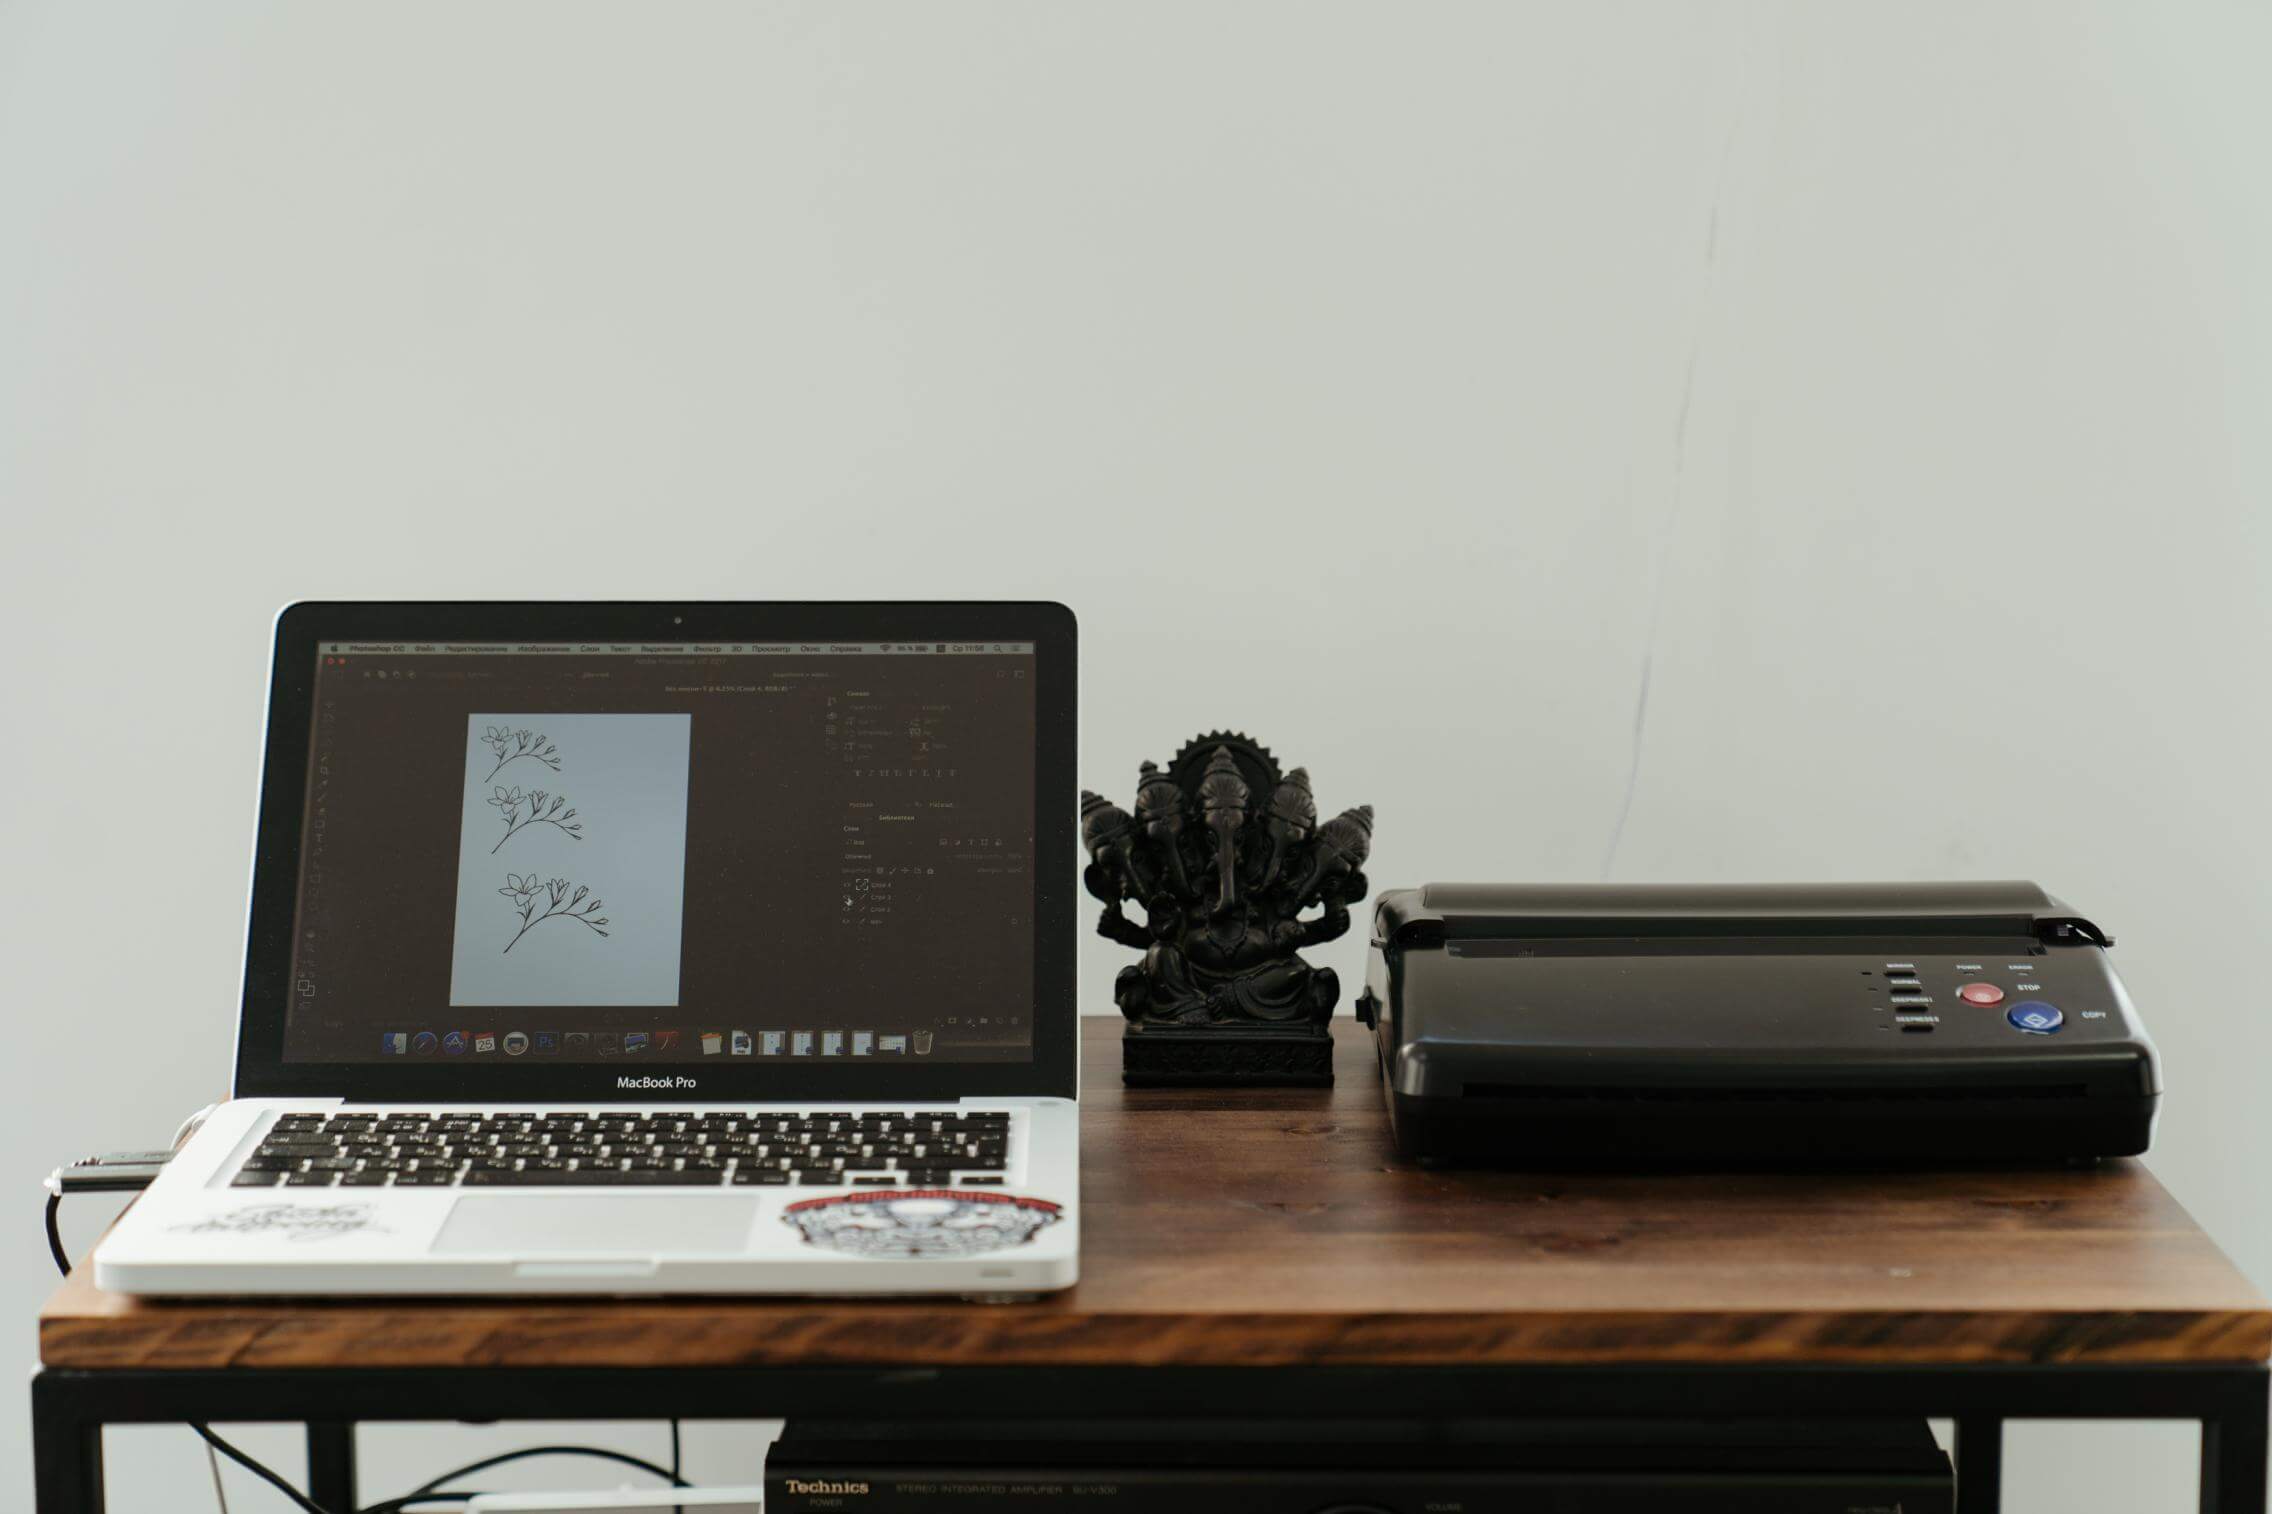
To get started, you need to connect the printer to a MacBook via a USB port or Wi-Fi. The computer will find the printer and download the missing drivers. From here, you can click the print button or the Command + P shortcut and be done with it, right?
Well, not necessarily. There are a few neat tricks and things you can explore to get more out of printing on a MacBook.
Solve Wi-Fi Issues
Most Mac users probably have a wireless printer. When it comes to third-party peripherals, a Wi-Fi connection is usually the go-to method to connect a MacBook to an accessory, including printers.
Not having to deal with cables is convenient, though it also means that one might encounter problems with a wireless connection because of a poor signal or something jamming it.
So this is your first tip. If you have problems using a wireless printer together with a MacBook, make sure the signal is connecting the two devices properly.
Restarting the computer and printer or reconnecting to the internet connection is worth a shout as well.
Use the Dock
Some people might not need to open a document to print it because they are confident that the information is correct, and they want to get it done as soon as they can.
If that is the case, you can rely on the Dock. The built-in macOS system piece offers a lot, and one of the most overlooked features is printing.
First, open System Preferences and find the printer tab. Select your printer and drag its icon to the Dock. There should be a dedicated printer icon on the Dock now.
The next time you want to use that printer to print a document, open the Dock, grab the file of the document you want to print, and drag it on the printer icon inside the Dock.
Print From Spotlight
Similar to how you can utilize the Dock for printing, you can also do the same with Spotlight, which is a built-in macOS tool used mostly for searching and finding files and other information.
In case you run into the issue of not knowing where the document you want to print is, then use Spotlight and combine it with the Dock. As soon as Spotlight locates the document, you can drag from Spotlight directly to a printer icon on the Dock and save yourself some time.
Circumvent the Print Queue
A print queue is not an issue if you are the only one using the printer. However, it is a different situation when you are in an office and have to share a printer with your colleagues.
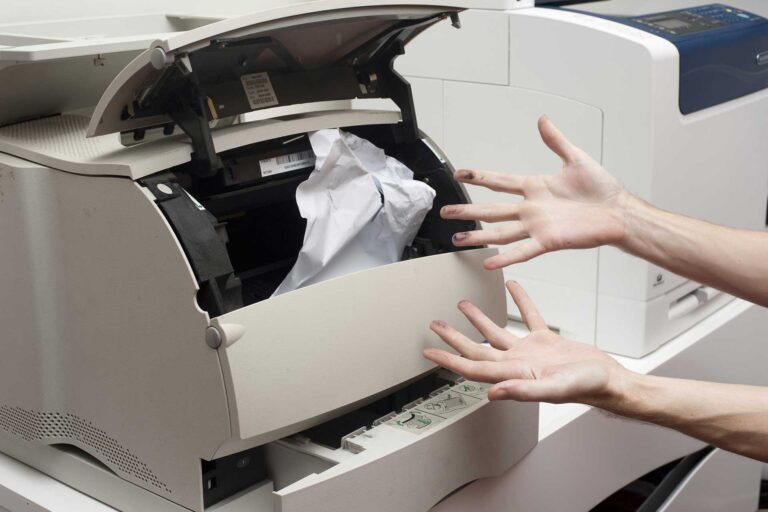
Imagine wanting to print a single-page document and having to wait for another person’s 100 pages to finish printing before you can proceed with your work. That does not sound like an optimal scenario, right? And what if the paper inside the printer ends before you can print your document?
Fortunately, there is a way to circumvent the problem in an office that has multiple printers. You can create a printer pool.
In your MacBook, open System Preferences and head to the printer tab. The goal here is to select all the printers your office uses. Hold the Command key and add them into a pool. To finish, save the option.
Now, whenever you want to print, make sure to select the printer pool rather than an individual printer. Doing so will mean accessing the first available printer, which should reduce the time you spend in a printer queue.
Print Multiple Documents Fast
If you do not want to open individual documents to print them in a batch, there is a way. Once again, go to the printer tab in the System Preferences on your MacBook and select the printer of your choice.
Click the Open Print Queue option. You will see a window for the queue. From here, drag and drop documents you want to print and let your MacBook do the rest.
In case you do not want to bother with the drag and drop method, you can use an alternative method. Open Finder, launch documents you want to print on the tool and hit the Command + P keyboard shortcut after selecting the files. So long as the documents are compatible and printable, the computer and printer should be able to print these files.