How to Connect Brother Printer to Wifi?
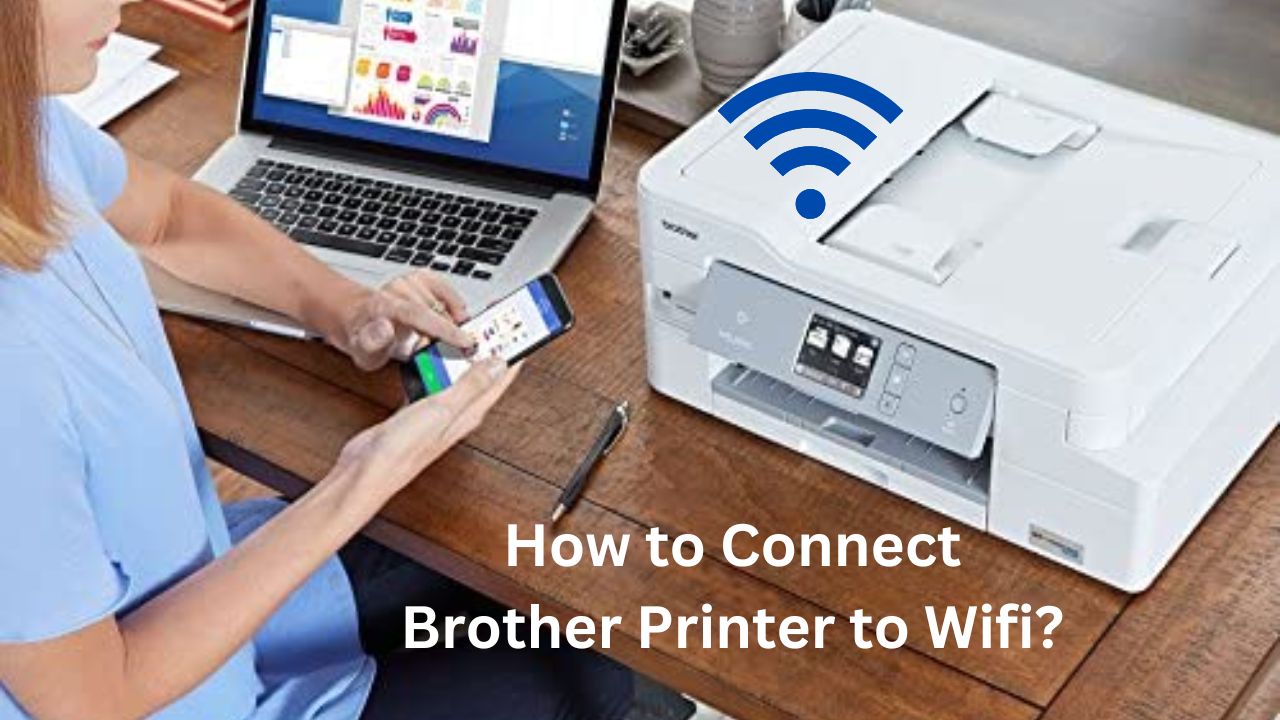
Brother offers various types of smart printers, such as laser printers, all-in-one printers, and many more. We can easily use Brother printers, and they also work effectively with Mac & Windows PCs. Brother printers work well with high-speed Internet. We can quickly connect the Brother printer To wifi router. After this, we can quickly use the Brother printer for printing. Connecting the printer to wifi is a simple process. There is a need to use a high-speed network so the printer can effectively work.
We can use these methods for connecting Brother printers to the wifi router.
- Wireless Direct
- Infrastructure Mode
- WPS (Wi-Fi Protected Setup™)
- Ad-hoc Mode
We must use the above methods for connecting to wifi. Let us check all the methods in detail.
How to Connect Brother Printer to Wifi Router By Using Wireless Direct
Direct Wireless allows us to connect our printer to the computer, tablet, or smartphone directly with no router or access point.
1. Confirm the printer’s Wireless Direct settings. Verify the settings on a Windows PC or Mac when connecting to a mobile device.
For Windows PCs
Connect the printer to the computer using a USB cable. On the computer, launch the Printer Setting Tool and click on “Communication Settings.” Make sure Wireless Direct is selected for Selected Interface in the General tab. (We selected this as the factory default settings.)
For Mac computers
Use a USB cable to connect the printer and computer. Make sure Wireless Direct is set to On in the Wireless LAN tab of the Printer Setting Tool. (We selected this as the factory default settings.)
2. You can turn on Wi-Fi by pressing and holding the Wi-Fi button on your printer for one second.
3. Every three seconds, the Wi-Fi indicator flashes blue.
Choose the SSID of our printer (“DIRECT-*****_PJ-773,” where “*****” is the last five digits of the product serial number) and enter the password (“773*****”) on the laptop or mobile.
The WiFi indicator turns blue when the connection is established.
Points to Remember
- The printer will enter WPS mode if we press the (Wi-Fi) button for more than five seconds.
- Using the Printer Setting Tool, we can change the printer’s network settings.
- We can also configure multiple printers using the Printer Setting Tool.
- In the battery compartment or on the back of the printer, we can find the serial number label.
- Wireless Direct does not allow us to connect to the Internet via Wi-Fi.
- We can use a wired connection to use the internet.
How to Connect Brother Printer to Wifi by Using Infrastructure Mode
We can quickly connect a printer to a computer or mobile device with a WiFi access point or router.
Always remember this step :
There is a need to configure the wifi settings of our printer so that it can easily communicate with a wifi router or access point. When the printer is configured to computers or mobile, the network quickly accesses the printer.
It is vital to confirm the WiFi settings before starting the installation. Users can also contact the system administrator before starting the installation.
There is a need to configure the wifi settings again. In case you don’t know the status of the wifi connection of the printer reset the Wi-Fi settings.
- First, you turned the printer off.
- You can hold the feed button and press the power button three times. Now release the Feed button.
- The light flashes orange.
- Here the press Feed button once.
When printing normal documents, place the printer as close as possible to the Wi-Fi access point/router. The data transfer speed can be affected by large objects and walls between two devices, as well as interference from other electronic devices.
We can attach the printer to our Wi-Fi router or access point.
- There is a need to enter the SSID and password of our wifi router or access point.
- Now we connect our printer and computer by using a USB cable.
- There is a need to enter the SSID and password of our wifi router or access point.
- Now we connect our printer and computer by using a USB cable.
- Here we press and hold the wifi button on the printer for a few seconds and turn the wifi function on.
- LED light of the Wi-Fi indicator flashes in blue color every three seconds.
- Now we configure the infrastructure mode settings of the printer.
For Windows PCs
Click the Communication Settings button in the Printer Setting Tool on our computer. On the Wireless LAN tab, select Wireless LAN for Selected Interface and Infrastructure for Communication Mode in Wireless Settings.
For Mac computers
There is a need to start the wireless device setup wizard, which is included in the printer driver package. It is essential to follow all the on-screen instructions.
- We can visit the Downloads page to download the Printer Driver Package if you have not already done so. Once the file is downloaded, double-click it. Utilities contain the Wireless Device Setup Wizard.
- We can either enter the SSID or click Search and select the SSID from the displayed list.
- When the printer and the access point/router are connected, the (Wi-Fi) indicator lights up in blue. Mobile devices and computers connected to the printer’s network will have access to it.
- We can use the Printer Setting Tool to change the network settings.
- To establish a connection between our mobile device and the Wi-Fi access point or router, select the SSID and enter the password of the Wi-Fi access point/router.
These steps help users connect the Brother printer to the WiFi router.
How to Connect Brother Printer to Wifi by Using WPS
When our wifi router supports WPS it becomes easier for us to connect the configured quickly.
- Search the WPS button on the router.
- It is necessary to place the printer near the router.
- Here, we press the WPS button on the router for a few seconds.
- Now LED lights flash blue once every second.
- A blue light appears when the Wi-Fi connection is established.
- Users on the same network as the printer can access the printer.
We can use the above steps to connect Brother printer to Wifi router by using the WPS method. It is an easy method to use to connect a Brother printer.
How to Connect Brother Printer to Wifi Router by Using Ad hoc Mode
We can connect a printer directly in ad hoc mode to our computer or mobile device with no router. Ad-hoc mode may not be supported by all computers, mobile devices, and operating systems.
We can use the below steps for connecting the Brother printer to the wifi.
- We can press and hold wifi button on the Brother printer for a few seconds until it turns wifi on.
- The blue light flashes every three seconds.
- We can also use Windows PC or Mac to configure the Ad hoc mode settings of the printer.
For Windows PCs
- First, we attach the computer and printer by using a USB cable.
- Using the Printer Setting Tool, click the Communication Settings button. On the Wireless LAN tab, select Wireless LAN for Selected Interface and Ad-hoc for Communication Mode.
For Mac Computers
- Follow the instructions on the screen when we launch the Wireless Device Setup Wizard included in the Printer Driver Package.
- Select the SSID of our printer using our computer or mobile device, and enter the password if we set one through the Printer Setting Tool. The (Wi-Fi) indicator turns blue when the connection is established.
Wrapping Up
We can use the above different ways to connect the Brother printer to the wifi router. These are the best ways to attach a Brother printer to wifi. It is also imperative that users read all instructions carefully and follow them properly. It is also crucial to place the router near the printer so it quickly connects to wifi and you can also connect through App Brother iPrint&Scan.
Read Also: Brother Printer Offline On Mac
hey, guys good morning your post is very interested I am very impressed with your post .thank you so much for sharing this post .if you have faced with brother printer related issues then you can visit our websites.
Thank you for posting such a informational blog. This is very helpful for us. Thanks again.